We’ve all felt that familiar tug on our heartstrings when we see an animal in need; especially out in the cold this time of year. And as much as we wish we could adopt every single animal, life gets in the way. Maybe you already have a house full of pets and can’t spare room for another, perhaps your apartment doesn’t allow them, or maybe your allergies have forced you to only admire animals from afar.
With an estimated 185,000 stray cats in Baltimore City alone, it’s a harsh reality that without proper shelter, heavy snow and low temperatures kill many of these cats each winter. So, what’s the average animal-lover to do, to help our furry friends this season?
There have been tremendous efforts to humanely control Baltimore’s stray cat population in recent years, through a method called Trap, Neuter, Release (TNR). This allows feral cats to peacefully live out the remainder of their lives, while keeping the population in check. BARCS Community Cats project continues to provide TNR services to an estimated 3,000 cats per year. Despite these incredible efforts, thousands of these cats still need help after being returned to the streets.
The good news is that there is a low budget and easy way to help keep your neighborhood strays warm this season: kitty condos. By that, we mean building winter cat shelters. Using materials from your local hardware store, as well as some common household items, you can build an insulated cat shelter to keep your feline friends happy and healthy throughout the winter.

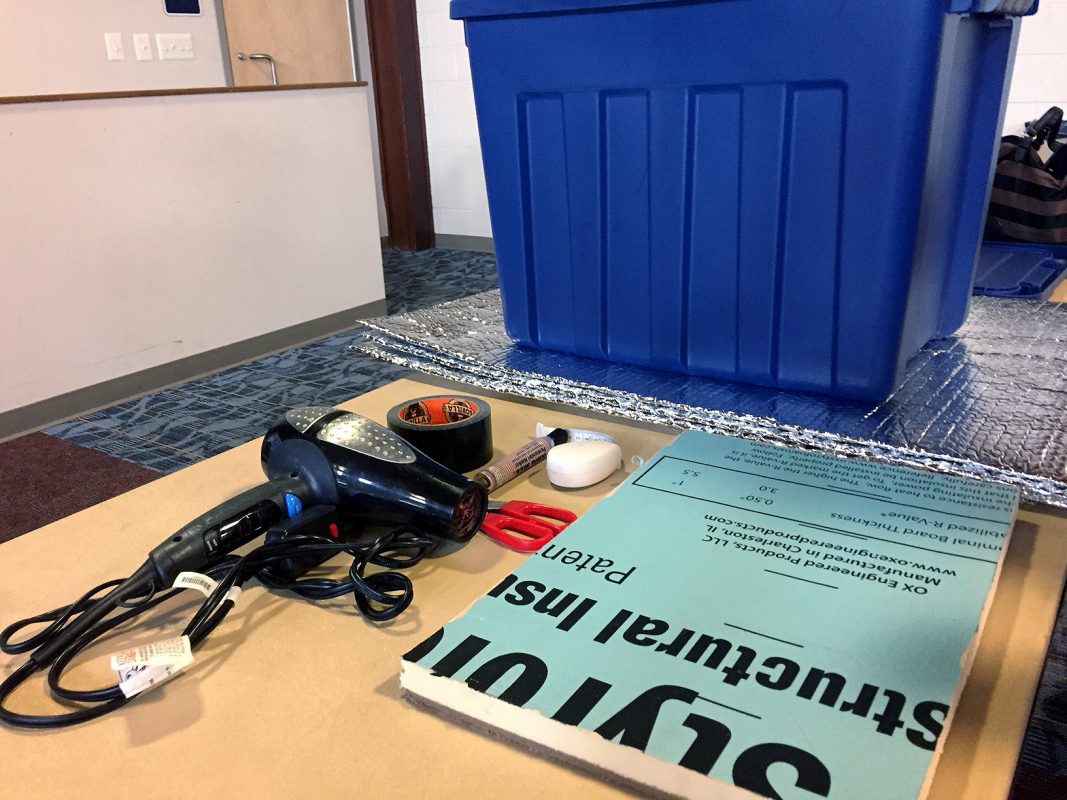
You will need:
- Rubbermaid-style storage container with a fitting lid (18 gallons or larger)
- Roll of Reflectix Insulation (found at hardware stores)
- Sheet of foam board (optional, for extra insulation)
- Roll of Gorilla Tape
- Sharpie
- Ruler or measuring tape
- Hairdryer
- Box cutter
- Pair of scissors
- Straw (not hay!) from a hardware store or nursery
- Catnip (optional)


Step 1: Using the Sharpie and ruler, draw a 5-inch square entrance on one side of the storage container. The bottom line should be at least 4-5 inches from bottom of the container.
Step 2: Using the hairdryer, warm the lines of the square on the container. This will make the material easier to cut through.
Step 3: With your box cutter, carefully cut the left, right, and bottom sides of your square, leaving the top intact, to create a flap. Fold the flap upward so that it will jut open a few inches. (Yes, cats will squeeze through this tiny opening!)


Step 4: Cut your foam board to the size of the bottom of your container and place inside.
Step 5: Cut your Reflectix Insulation to completely line the sides and bottom of your storage container (covering the foam board on the bottom). Also cut a piece to cover the inside of the lid. Be careful not to place the insulation too close to the edges of the lid, or the lid will not close securely. Secure all edges and overlapping areas with tape.

Step 6: Cut an opening in the insulation to match the opening of the flap you created in Step 3. Place tape all around the edges of the entrance, to secure the insulation to the flap, and to cover any sharp or messy edges to make the cat’s entry/exit safer.

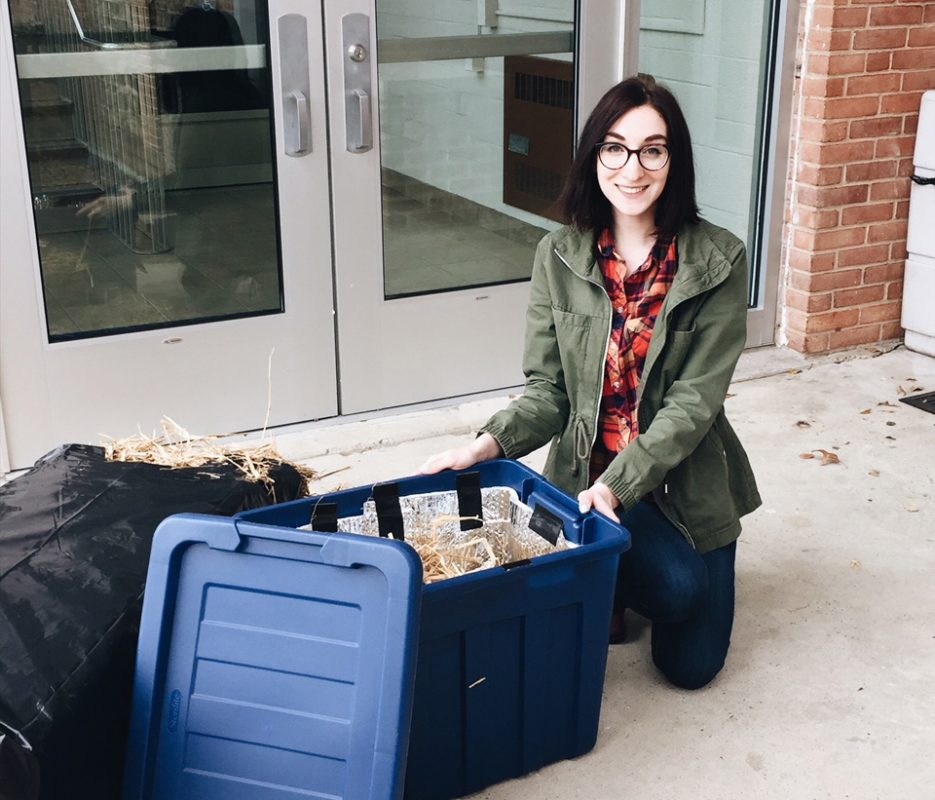
Step 7: Fill with straw, not hay! Straw is warmer and dries more quickly, while hay is more likely to retain water. Fill the straw about 4-5” from the bottom of your container. Even if it appears to be blocking the entrance, the cat will burrow their way inside. Optional: Sprinkle catnip inside, to entice the cats to come check out their new condo.

Step 8: Secure the lid and place your finished shelter outdoors, in an area that is accessible to your neighborhood cats. To find out if your shelter is being used, you can open the lid and see if there is a cat-sized indentation in the hay–if so, that means it’s being put to good use. If you find that your shelter isn’t being used after one week, try sprinkling more catnip, and/or moving your shelter to a new location.
This activity is family friendly, though kids should be supervised while handling the materials for safety.
